Post
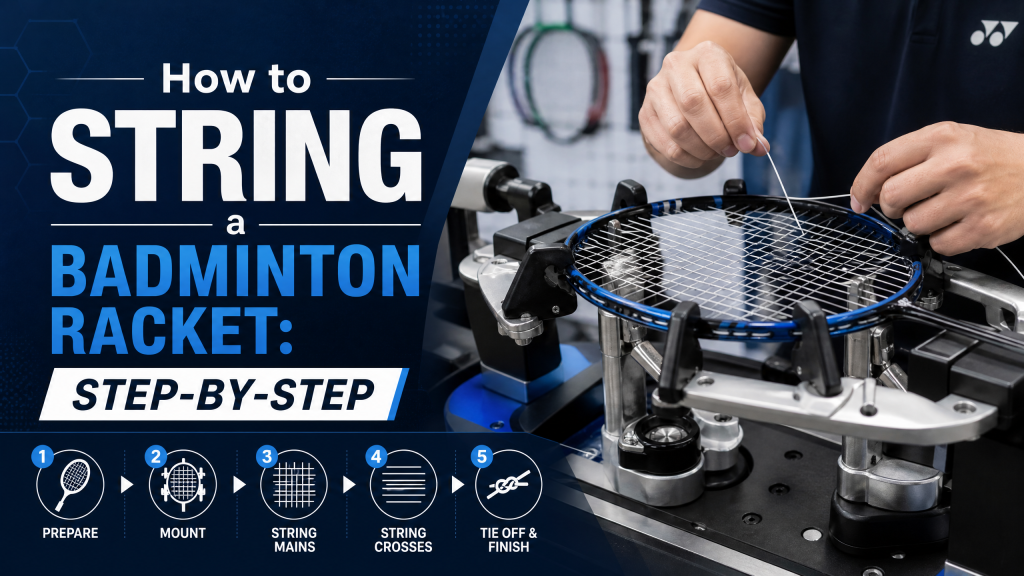
How to String a Badminton Racket: Step-by-Step
May
DIY Racket Stringing: Is It for You?
For many badminton players, racket stringing is something that happens behind the scenes. You hand your racket to a stringer, choose a tension, wait a day or two, and get it back ready to play. But for some enthusiasts, stringing becomes part of the sport itself. Learning to string your own racket can save money, improve consistency, and give you complete control over how your racket feels on court.
At the same time, badminton stringing is a technical skill that requires patience, precision, and proper equipment. A badly strung racket can lose tension quickly, play inconsistently, or even crack under pressure. Before investing in a machine, it’s important to understand both the benefits and challenges of DIY stringing.
This guide explains the tools required, the basic two-piece stringing process, common mistakes beginners make, and whether home stringing is worth it for your playing level.
Why Players Learn to String Their Own Rackets
The main reason people start stringing at home is cost. Professional stringing services usually charge between $15 and $30 including labor and string. If you play frequently or break strings often, those costs add up quickly over a year.
A competitive player restringing twice per month could easily spend several hundred dollars annually. With a personal stringing machine, the ongoing cost drops dramatically because you only pay for the string itself.
Another major advantage is customization. Different tensions, string types, and hybrid combinations all change how a racket performs. When you string your own rackets, you can experiment freely without paying labor fees every time.
Many advanced players also prefer the consistency of doing their own work. Once your technique improves, you know exactly how the racket was mounted, tensioned, and tied off. That level of control matters for serious competition.
Finally, some players simply enjoy the process. Stringing can feel relaxing and methodical, similar to tuning a musical instrument or maintaining a bicycle.
Essential Stringing Equipment
Before learning technique, you need the right equipment.
1. Stringing Machine
The machine is the biggest investment. There are three main types:
Drop-Weight Machines
These are the most affordable and beginner-friendly. A weighted arm applies tension manually. They are slower but accurate when used correctly.
Price range: $150–300.
Best for:
- Beginners
- Casual club players
- Learning fundamentals
Crank Machines
These use a spring-loaded tension system. Faster than drop-weight machines but require calibration.
Price range: $400–800.
Best for:
- Intermediate stringers
- Coaches
- Busy clubs
Electronic Constant-Pull Machines
These automatically maintain precise tension electronically. They are the gold standard used in tournaments and professional shops.
Price range: $900–5000+.
Best for:
- Professional stringers
- Tournament environments
- High-volume use
For most players learning at home, a drop-weight machine is more than sufficient.
2. Basic Tools
Besides the machine itself, you’ll need:
- String cutter
- Needle-nose pliers
- Starting clamp
- Awl for blocked grommets
- Tension calibrator
- Sharp scissors
- Ruler or measuring tape
Optional advanced tools include:
- Pathfinder awl
- Grommet grinder
- Clamp lubricant
- String mover
Quality tools make the process easier and reduce mistakes.
Choosing the Right String Setup
If you’re new to stringing, keep things simple.
Choose a durable and forgiving string such as:
- Yonex BG65
- Victor VBS-70
- Li-Ning No.7
Avoid ultra-thin strings initially because they kink easily and are harder to handle.
For tension, start conservatively.
Recommended beginner tension:
- 24 lbs mains
- 24 lbs crosses
High tensions above 27 lbs increase frame stress and make mistakes more dangerous.
Measure the string carefully:
- Around 10 meters for mains
- Around 4–5 meters for crosses
Always check your racket manufacturer’s recommended tension range.
Mounting the Racket Correctly
Proper mounting is one of the most important steps in the entire process.
The racket must be secured firmly at:
- 12 o’clock
- 6 o’clock
- 3 o’clock
- 9 o’clock
The frame should feel stable without being crushed by excessive pressure.
A common beginner mistake is overtightening the supports, which can deform or crack the frame before stringing even begins.
Before pulling any tension:
- Check alignment
- Ensure no wobbling
- Confirm supports are balanced evenly
Take your time here. Good mounting protects expensive rackets.
Stringing the Main Strings
In a standard two-piece pattern, the mains (vertical strings) come first.
You begin from the center and work outward symmetrically.
The process:
- Insert string through center grommets
- Pull tension on each side alternately
- Clamp after every pull
- Continue outward evenly
- Tie off at designated grommets
Most badminton rackets use 22 main strings total.
Consistency matters more than speed. Pull every string smoothly and avoid jerking motions.
Many beginners rush through this stage and create uneven frame pressure.
Weaving the Cross Strings
The crosses are horizontal strings woven over and under the mains.
This is usually the slowest and most frustrating part for first-time stringers.
Key tips:
- Start from the top
- Alternate weave pattern correctly
- Keep string organized
- Avoid twisting the string
- Pull tension carefully
Some players increase cross tension by 1–2 lbs to compensate for friction loss. Beginners should keep both mains and crosses equal initially.
Weaving technique improves dramatically with practice. Your first racket may take over an hour, while experienced stringers can finish in 20–30 minutes.
Knot Tying and Finishing
Once all strings are tensioned, the racket is secured with finishing knots.
Good knots should:
- Hold tension securely
- Sit tightly against the grommet
- Avoid slipping
- Leave a small tail
Common badminton knots include:
- Double half hitch
- Parnell knot
- Starting knot
Poor knot tying causes rapid tension loss and can ruin an otherwise good string job.
After finishing:
- Inspect all strings
- Check alignment
- Straighten crosses
- Tap the string bed gently to settle tension
A properly strung racket should produce a clean, high-pitched “ping” sound.
Common Beginner Mistakes
Every new stringer makes errors. The important thing is recognizing them early.
Mounting Too Tight
This risks cracking the frame immediately.
Uneven Tension Pulls
Causes distorted racket shape and inconsistent feel.
Misweaving Crosses
One incorrect weave ruins the entire string pattern.
Damaging the String
Kinks and sharp bends weaken strings before play even begins.
Poor Knots
Leads to rapid tension loss.
Pulling Too Fast
Creates inaccurate tension and unnecessary stress.
Patience is critical. Your first few rackets are practice.
How Often Should You Restring?
Even unbroken strings lose elasticity over time.
General guidelines:
- Casual players: every 3–6 months
- Club players: every 1–3 months
- Competitive players: every few weeks
If strings sound dull, feel mushy, or lose control, it’s time to restring.
A useful rule:
Restring per year as many times as you play per week.
Example:
- Play 3 times weekly → restring about 3 times yearly minimum
Is DIY Stringing Worth It?
DIY Stringing Makes Sense If You:
- Play frequently
- Break strings often
- Enjoy technical hobbies
- Want precise customization
- Own multiple rackets
Professional Stringing Is Better If You:
- Play casually
- Only restring a few times yearly
- Don’t want machine maintenance
- Prefer convenience
- Fear damaging expensive rackets
For most recreational players, professional stringing remains the easiest option.
But for dedicated badminton enthusiasts, learning to string can become a rewarding long-term skill.
Final Verdict
DIY badminton stringing is both a technical craft and a valuable practical skill. It offers independence, customization, and long-term savings, but demands patience and careful attention to detail.
If you decide to learn, start slowly:
- Use an older racket
- Practice at moderate tensions
- Watch trusted tutorials
- Focus on consistency, not speed
Your first few jobs may feel difficult, but improvement comes quickly with repetition.
For players deeply invested in badminton, stringing your own rackets can become just as satisfying as playing itself.